
Install vRealize Lifecycle Manager on VMware Workstation
Introduction
I have a desire and need to start learning the vRealise Suite of products and one of the first parts I thought I would look at was installing vRealize Lifecycle Manager on my lab. I was initially using v2.1.0 but then v8.0 was released so I also looked at that version.
I run my lab nested in VMware Workstation v15.5 and noticed that v2.1.0 did not have networking from deployment either when setting a static IP or using DHCP. I will detail this and how to fix it. Also I will look to see if things are better with v8.0.
LCM v2.1.0 Static IP Deployment
I wanted to use a static IP address for the appliance so ran through the installer as so.
In Workstation go to File...Open... and open the appliance OVA
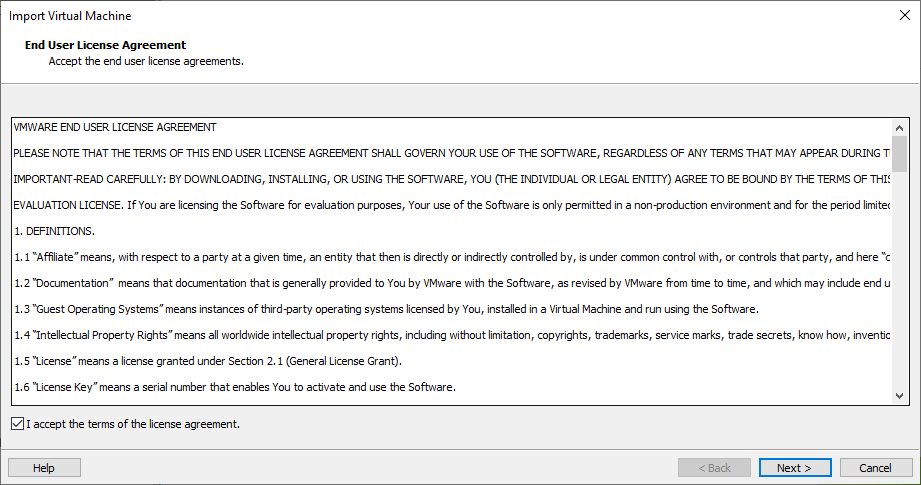
Accept the license agreement and click Next >
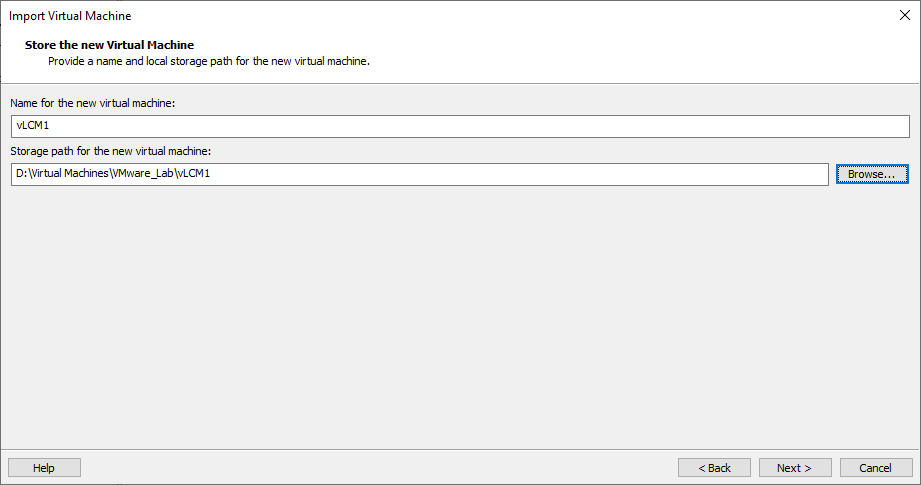
Enter the name of the VM and the path:
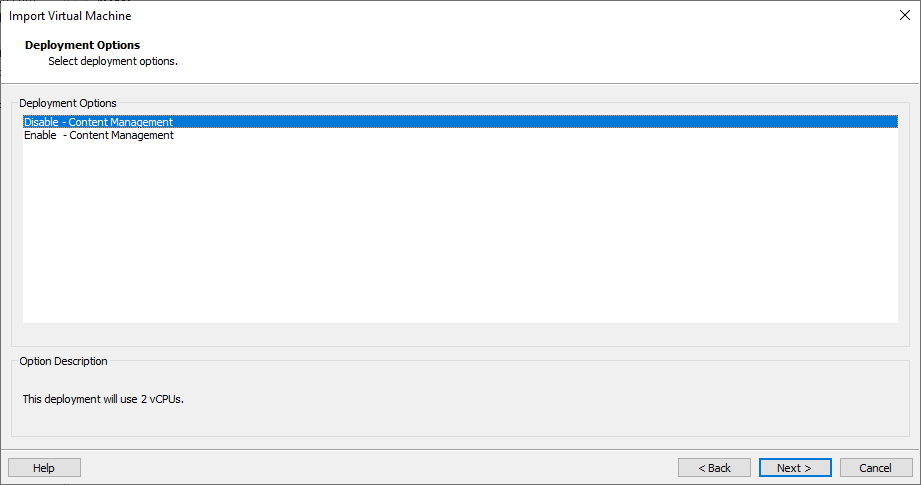
In Deployment Options either Disable or Enable Content Management:
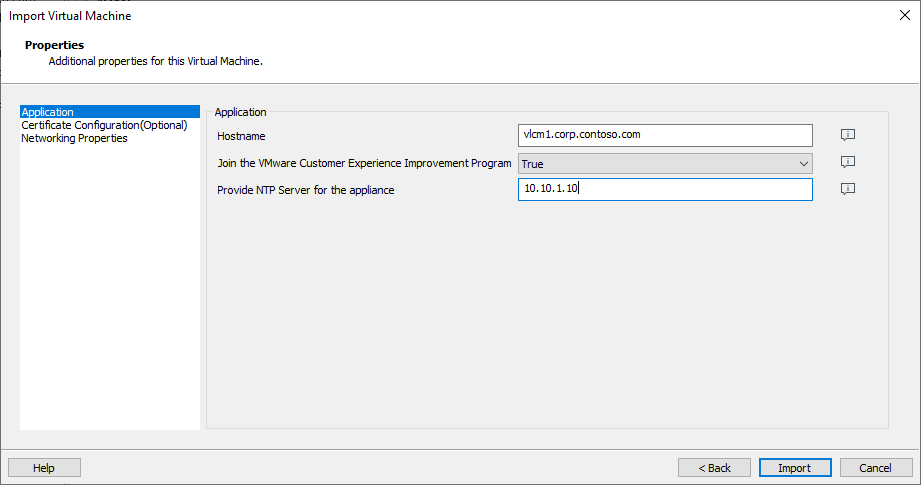
Enter the the hostname (ensure FQDN), if you want to join the CEIP, and the NTP server:
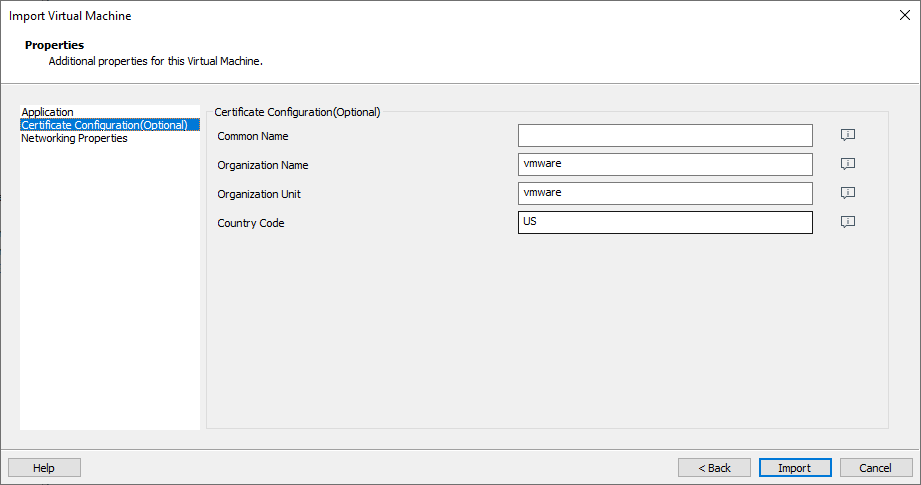
If required enter Certificate details. In my examples I leave as default:
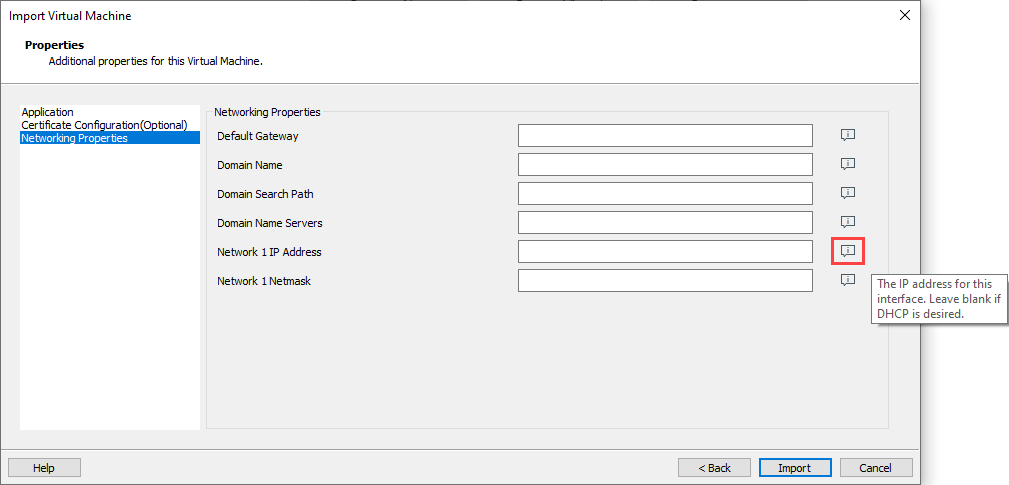
The last deployment options screen is the Networking Properties:

Click Import and the ova in imported to Workstation and powered on.
However when the appliance boots you see the error NO NETWORKING DETECTED:
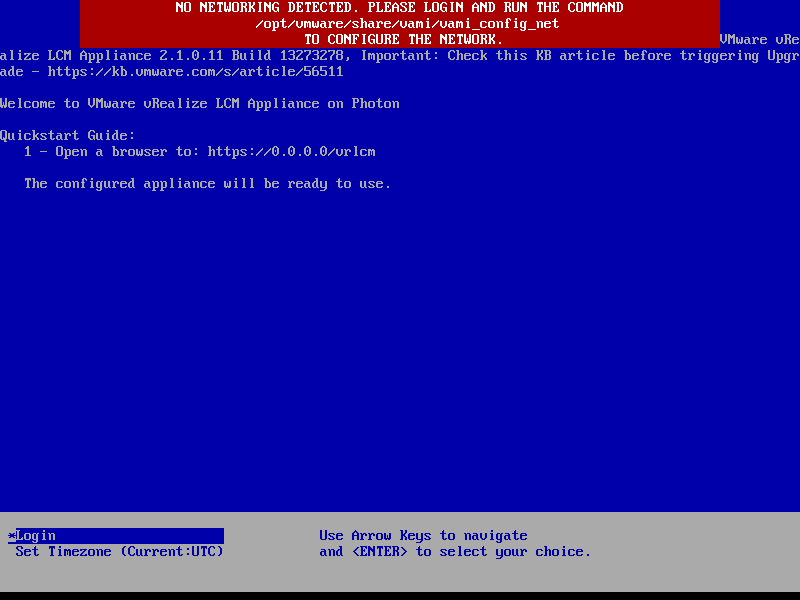
Fix LCM v2.1.0 Static IP
To fix this is pretty simple. The tool vami_config_net lets you look at the current network configuration and fix it.
Press Enter to Login. The default username is root and the password is vmware. This gets you to the OS console:
photo-machine login: root
Password:
root@photon-machine [ ~ ]#
Launch the network tool:
root@photon-machine [ ~ ]# /opt/vmware/share/vami/vami_config_net

 Main Menu

 0)     Show Current Configuration (scroll with Shift-PgUp/Pg/Down)
 1)     Exit this program
 2)     Default Gateway
 3)     Hostname
 4)     DNS
 5)     Proxy Server
 6)     IP Address Allocation for eth0
 Enter a menu number [0]:
If we choose option 0) Show Current Configuration (scroll with Shift-PgUp/Pg/Down) we can see none of the IP information supplied in the deployment options has made it to the VM:
Enter a menu number [0]: 0

Network Configuration for eth9
IPv4 Address:
Netmask:
IPv6 Address:
Prefix:

Global Configuration
IPv4 Gateway:
IPv6 Gateway:
Hostname:       photon-machine
DNS Servers:    8.8.8.8, 8.8.4.4
Domain Name:
Search Path:
Proxy Server:
It is easy to fix using this utility. I start with 6) IP Address Allocation for eth0
Enter a menu number [0]: 6
Type Ctrl-C to go back to the Main Menu

Configure an IPv6 address for eth0? y/n [n]: n
Configure an IPv4 address for eth0? y/n [n]: y
Use a DHCPv4 Server instead of a static IPv4 address? y/n [n]: n
IPv4 Address []: 10.10.1.70
Netmask []: 255.255.255.0
IPv4 Address:   10.10.1.70
Netmask:        255.255.255.0

Is this correct? y/n [y]: y

Reconfiguring eth0...
net.ipv6.conf.eth0.disable_ipv6 = 1
Network parameters successfully changed to requested values
Next up is DNS - 4) DNS
Enter a menu number [0]: 4

Warning: if any of the interfaces for this VM use DHCP,
the hostname, DNS, and Gateway parameters will be
overwritten by information from the DHCP server.

Type Ctrl-C to go back to the Main Menu

DNS Server 1 [8.8.8.8]: 10.10.1.10
DNS Server 2 (optional) [8.8.4.4]: 10.10.1.11
Domain Name (optional) []: corp.contoso.com
Search path (space separated) (optional) []: corp.contoso.com
DNS server settings updated
Now to set the Hostname - 3) Hostname
Enter a menu number [0]: 3

Warning: if any of the interfaces for this VM use DHCP,
the hostname, DNS, and Gateway parameters will be
overwritten by information from the DHCP server.

Type Ctrl-C to go back to the Main Menu

New hostname [photon-machine]: vlcm1.corp.contoso.com
== set_ipv4 ==
DEFULT_INT: eth0
DEFAULT_IPV4: 10.10.1.70
HN: vlcm1
DN: corp.contoso.com
==============

== set_ipv6 ==
DEFULT_INT: eth0
DEFAULT_IPV6:
HN: vlcm1
DN: corp.contoso.com
==============

Host name has been set to vlcm1.corp.contoso.com
Final item to set is the 2) Default Gateway
Enter a menu number [0]: 2

Warning: if any of the interfaces for this VM use DHCP,
the hostname, DNS, and Gateway parameters will be
overwritten by information from the DHCP server.

Type Ctrl-C to go back to the Main Menu

Choose the interface to associate with default gateway [0]: 0
Gateway will be associated with eth0
IPv4 Default Gateway []: 10.10.1.254
IPv6 Default Gateway []:
Reconfiguring eth0...
net.ipv6.conf.eth0.disable_ipv6 = 1
Network parameters successfully changed to requested values
Now let check with option 0) Show Current Configuration (scroll with Shift-PgUp/PgDown)
Enter a menu number [0]: 0

Network Configuration for eth9
IPv4 Address:   10.10.1.70
Netmask:        255.255.255.0
IPv6 Address:
Prefix:

Global Configuration
IPv4 Gateway:   10.10.1.254
IPv6 Gateway:
Hostname:       vlcm1.corp.contoso.com
DNS Servers:    10.10.1.10, 10.10.1.11
Domain Name:
Search Path:    corp.contoso.com
Proxy Server:
You might notice the Domain Name is not listed. Even though you enter it under option 4 is does not show up in the summary screen
Use option 1) Exit this program to get back to the OS prompt. Now reboot with:
root@photon-machine [ ~ ]# reboot
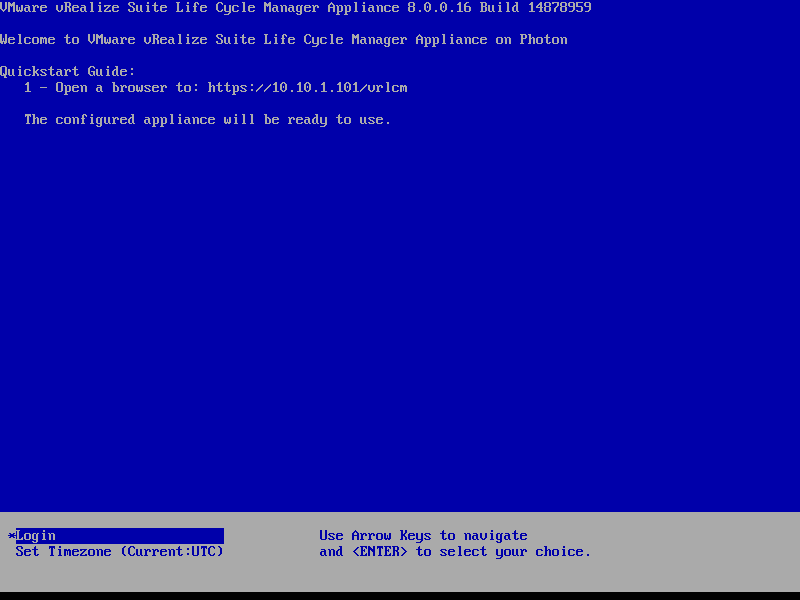
We can now see the networking error has disappeared:
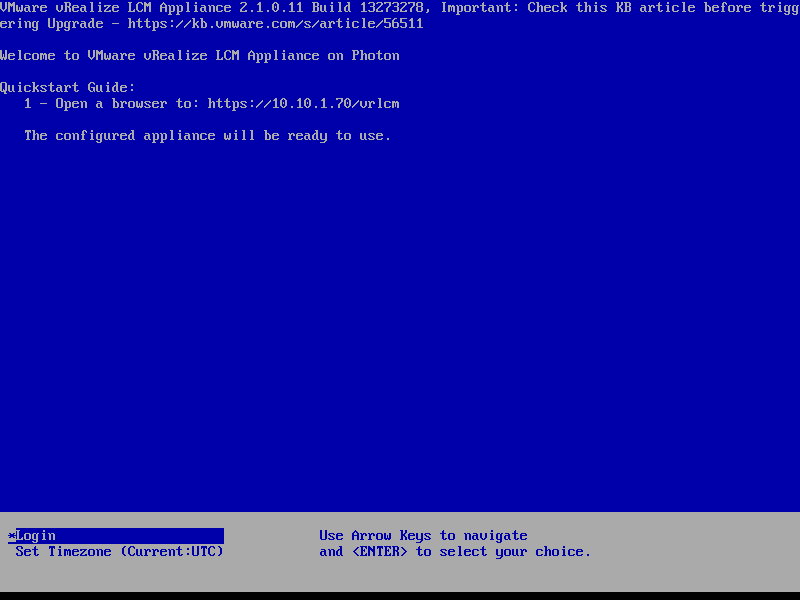
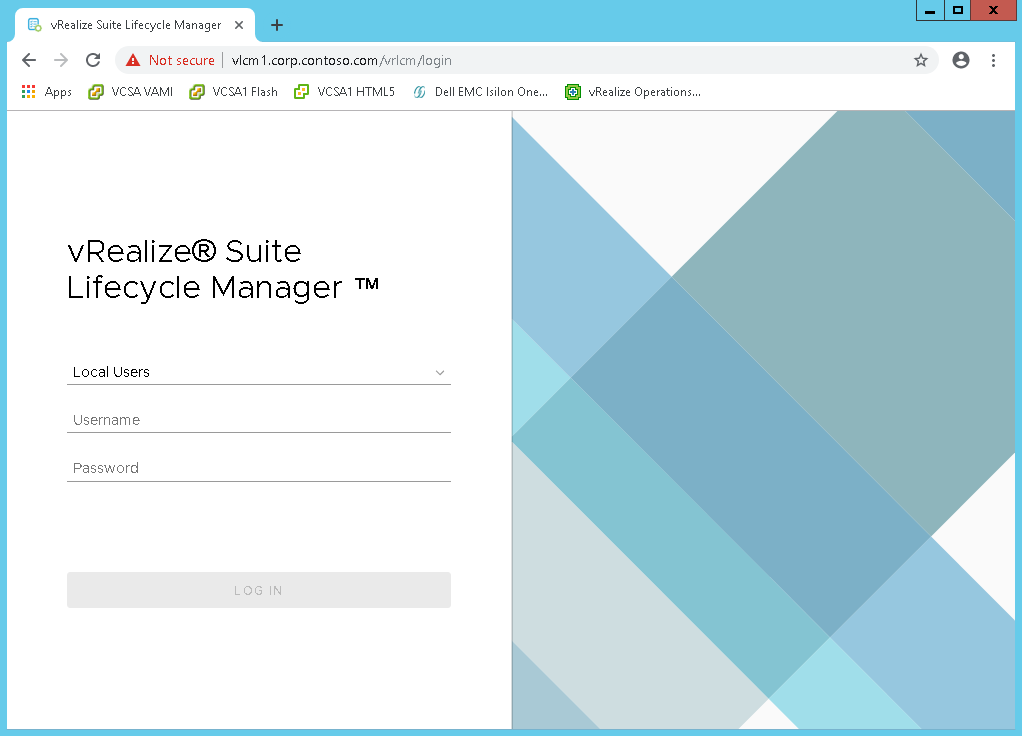
and we can get to the URL listed:
LCM v2.1.0 DHCP IP Deployment
I wondered if this was a problem for just deployments where you set an IP in the OVA deployment options. So I deleted the VM and tried again. To do this don’t enter any information on the Networking Properties screen during deployment:
However on boot the VM has the same network IP issue appears as above.
Fix LCM 2.1.0 DHCP IP
To fix this we use the same utility as above vami_config_net.
Press Enter to Login. The default username is root and the password is vmware. This gets you to the OS console:
photo-machine login: root
Password:
root@photon-machine [ ~ ]#
Launch the network tool:
root@photon-machine [ ~ ]# /opt/vmare/share/vami/vami_config_net

 Main Menu

 0)     Show Current Configuration (scroll with Shift-PgUp/Pg/Down)
 1)     Exit this program
 2)     Default Gateway
 3)     Hostname
 4)     DNS
 5)     Proxy Server
 6)     IP Address Allocation for eth0
 Enter a menu number [0]:
This time we again use 6) IP Address Allocation for eth0:
Enter a menu number [0]: 6
Type Ctrl-C to go back to the Main Menu

Configure an IPv6 address for eth0? y/n [n]: n
Configure an IPv4 address for eth0? y/n [n]: y
Use a DHCPv4 Server instead of a static IPv4 address? y/n [n]: y
IPv4 Address:   AUTOMATIC
Netmask:        AUTOMATIC

Is this correct? y/n: y

Reconfiguring eth0...
net.ipv6.conf.eth0.disable_ipv6 = 1
Network parameters successfully changed to requested values
We only need to set the hostname now:
Enter a menu number [0]: 3

Warning: if any of the interfaces for this VM use DHCP,
the hostname, DNS, and Gateway parameters will be
overwritten by information from the DHCP server.

Type Ctrl-C to go back to the Main Menu

New hostname [photon-machine]: vlcm1.corp.contoso.com
== set_ipv4 ==
DEFULT_INT: eth0
DEFAULT_IPV4: 10.10.1.100
HN: vlcm1
DN: corp.contoso.com
==============

== set_ipv6 ==
DEFULT_INT: eth0
DEFAULT_IPV6:
HN: vlcm1
DN: corp.contoso.com
==============
Again we can confirm the network now:
Enter a menu number [0]: 0

Network Configuration for eth9
IPv4 Address:   10.10.1.100
Netmask:        255.255.255.0
IPv6 Address:
Prefix:

Global Configuration
IPv4 Gateway:   10.10.1.254
IPv6 Gateway:
Hostname:       vlcm1.corp.contoso.com
DNS Servers:    10.10.1.10, 10.10.1.11
Domain Name:
Search Path:    corp.contoso.com
Proxy Server:
The IP 10.10.1.100 is in my DHCP range. Success!
LCM v8.0 Static IP Deployment
So as I said above vRealize Lifecycle Manager v8.0 was released, so I was interested to see if IP addressing worked correctly in this version. One this I noticed was the underlying OS has been changed to PhotonOS.
When deploying the OVA the deployment options are slightly different.
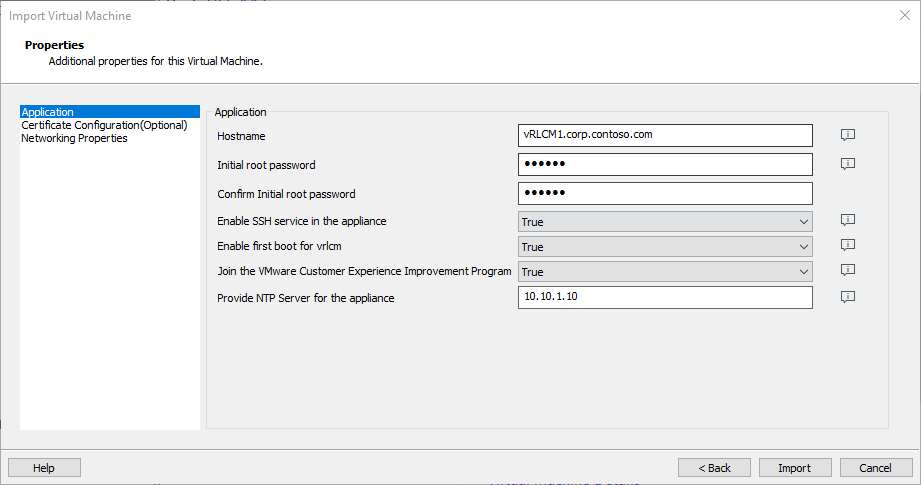
The Application properties:
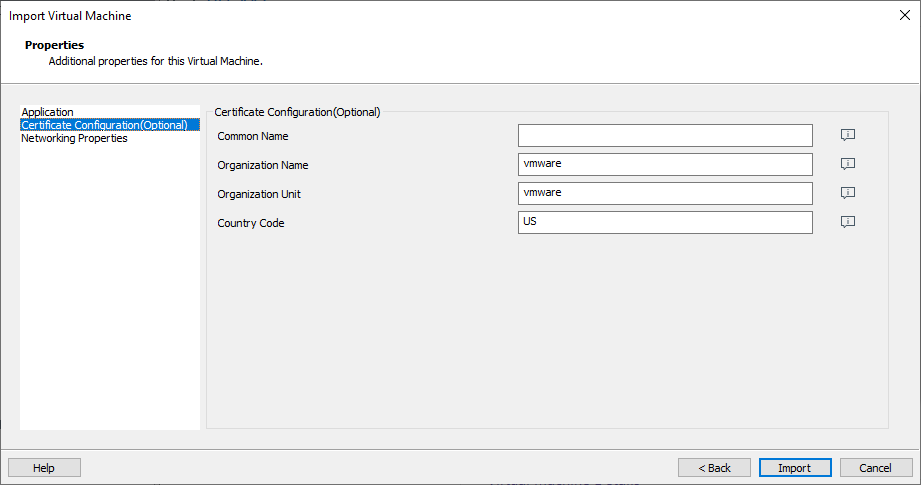
Then the Certificate Configuration (Optional):
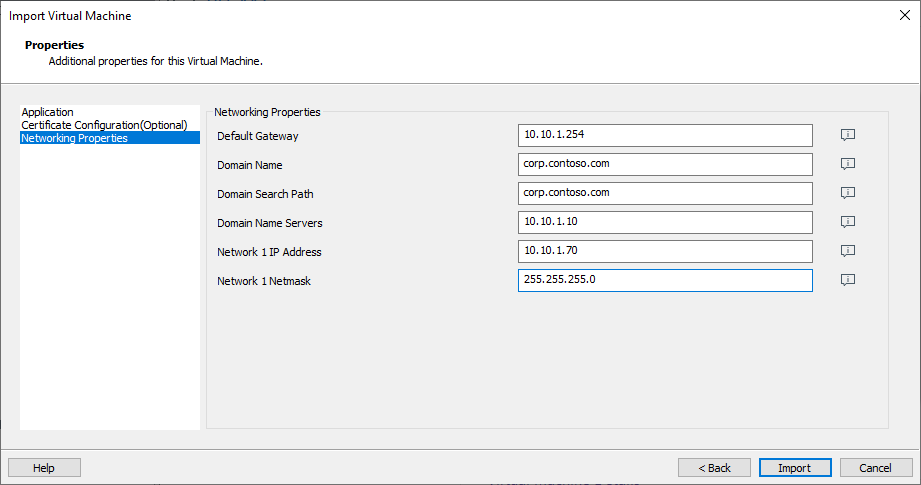
Finally the Networking Properties:
Once imported lets check networking:
It has picked up a DHCP address and not the static one set during deployment. Not ideal but at least there is connectivity.
Fix LCM v8.0 Static IP
We can fix the IP address using the exact same utility as above config_vami_net. Login to PhotonOS using the username root and the password set during the deployment options.
Launch the
root@vRLCM1 [ ~ ]# /opt/vmware/share/vami/vami_config_net

 Main Menu

 0)     Show Current Configuration (scroll with Shift-PgUp/Pg/Down)
 1)     Exit this program
 2)     Default Gateway
 3)     Hostname
 4)     DNS
 5)     Proxy Server
 6)     IP Address Allocation for eth0
 Enter a menu number [0]:
We can check the config again:
Enter a menu number [0]: 0

Network Configuration for eth9
IPv4 Address:   10.10.1.101
Netmask:        255.255.255.0
IPv6 Address:
Prefix:

Global Configuration
IPv4 Gateway:   10.10.1.254
IPv6 Gateway:
Hostname:       vRLCM1.corp.contoso.com
DNS Servers:    10.10.1.10
Domain Name:
Search Path:
Proxy Server:
So the deployment has picked up some options such as the hostname but not the IP Address information. We can fix the IP Address using the same steps as above.
Wrap Up
VMware have had made progress in running their products nested in Workstation (think ESXi and vCenter) but I do not think the vRealize suite of products is there yet. You can install in Workstation but there are solvable issues to get basic connectivity to the appliances. I am sure I will find more gotchas running nested as I start learning the suite of products.